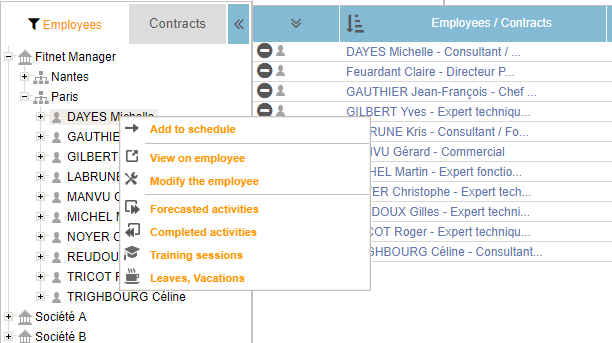
You can look for the availability of resources via the data explorer, by selecting the resources in drag-and-drop (one or all employees, teams, Business Units…).
You can set a limit date to avoid any confusion on forecasted or completed activity within the current period - current month or current week, according to your configuration, see [1]. Once you have set this limit date, don’t forget to validate to have it take effect.
The limit date [2] works as a marker between what has been achieved and the forecast remainder to be done.
Here is where you have to configure these features:

Check the resources on the Capacity Planning
You can select an item by right-clicking or using drag and drop:
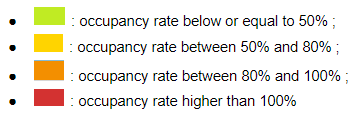
Check the availability
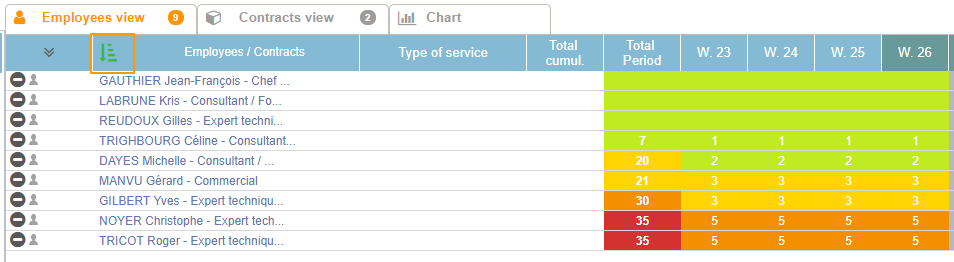
The color code indicates the availability of each employee:
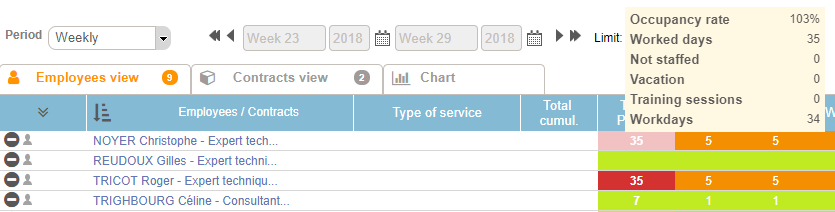
Occupancy rate takes into account the number of:
- Workdays
- Worked days
- Training sessions
- Vacations
- Not staffed days
Occupancy rate is calculated as follows: (Worked days + Not staffed days + Vacations + Training sessions) / Workdays.
You can also sort the resources in ascending order occupancy:
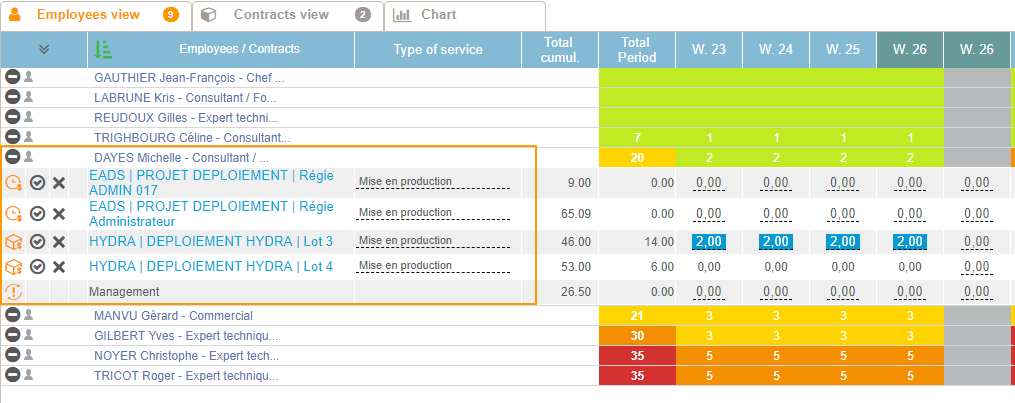
View occupancy details
To check occupancy details, you have to click on the employee and its planning will unroll:
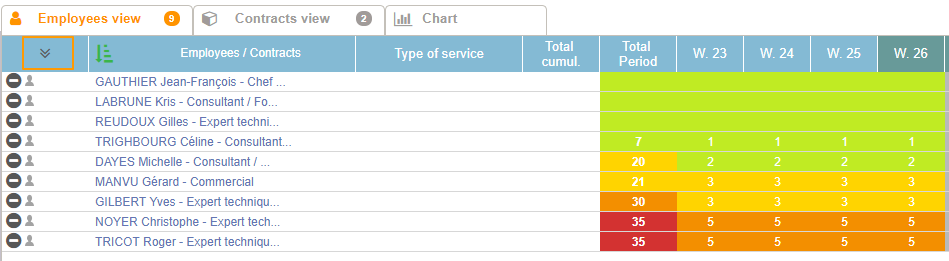
You can also use the button “Display all” to view all occupancies details, or the button “Hide all” to hide it:
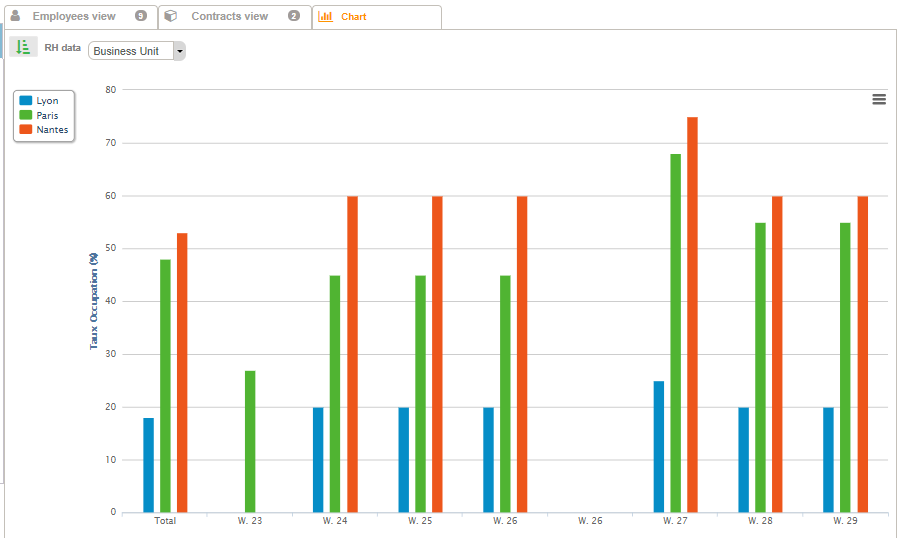
Use of the chart
On the capacity planning, you can also view charts representing your employees’ occupancy rate. You can choose between 3 consolidations:
- By Business Unit (the parameter must be activated in your environment)
- By team (idem)
- By Profile (must be defined in HR Folders beforehand)
Here is an example with a consolidation by Business Unit: